To show Custom Reviews with Social Wall, first, go to Social Wall. Now, follow the steps.
1. Add Widgets
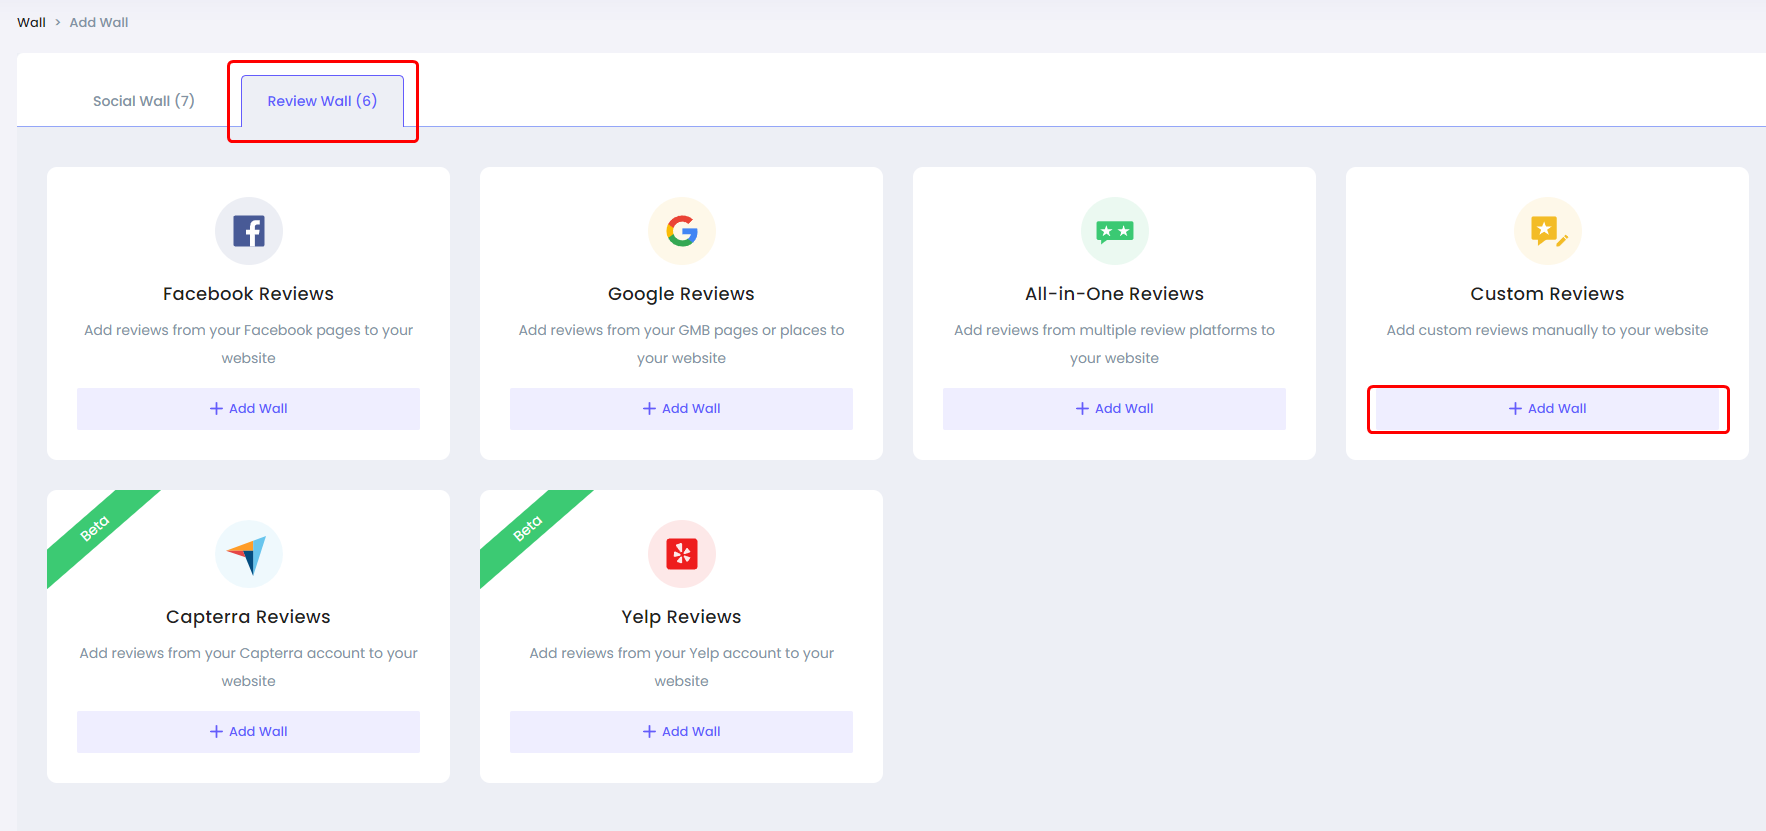
- Under "Add Wall Tab", click on "Review Wall"
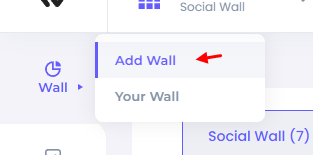
- Now, click on the "Add Wall" button on Custom Reviews Wall.
Here you'll see different customization options:

Data source: You can integrate multiple platforms under this section which can automatically fetch data to automate the process.
Layout: Select layout options from mosaic, carousels, grid, and more. You can also customize options like rows, space, Header text, load more button settings, content width, etc.
Card: Under this tab, you can select card template and select options you want to display like author name, icon, date, source, URL, etc.
Pop-up: Using the pop-up option, you can select a pop-up template and select options you want to display like author name, icon, action, source, URL, etc.
Appearance: This option allows you to change color, font, border, shadow, and more. It also lets you add your custom CSS, and you can choose whether you want to display a widget on a mobile phone or desktop.
Filter: It allows you to apply hide/show filters to comments and images, and also, you can add keywords that you want to include and exclude.( Only visible when data source is connected
Settings: Here, you can find the additional settings.
2. Connect Custom Reviews with Social Wall
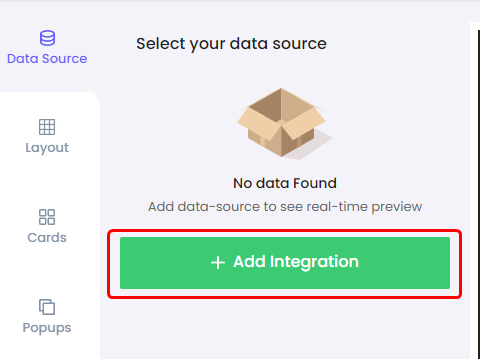
Now, go to the "Data Source" tab.
- Click on "Add integration"

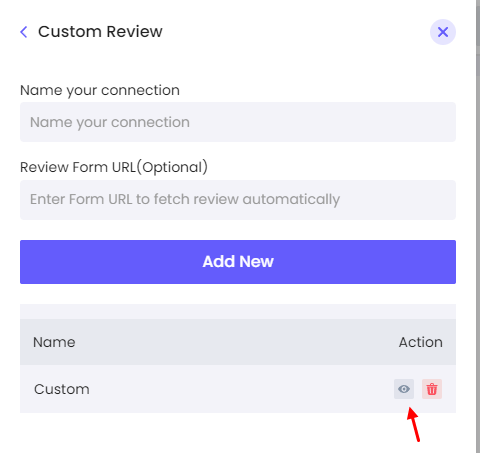
- Now enter name and URL(optional)
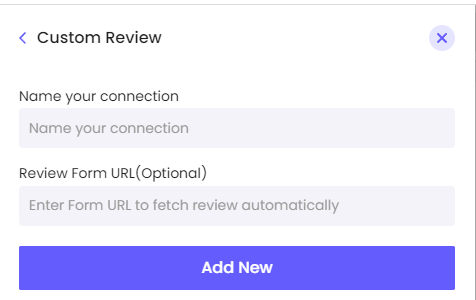
- Once you've created a new connection, click on the "eye icon".
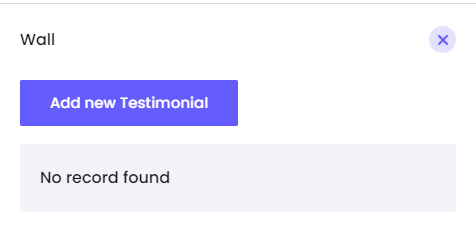
- Here you can add as many reviews as you want using this button
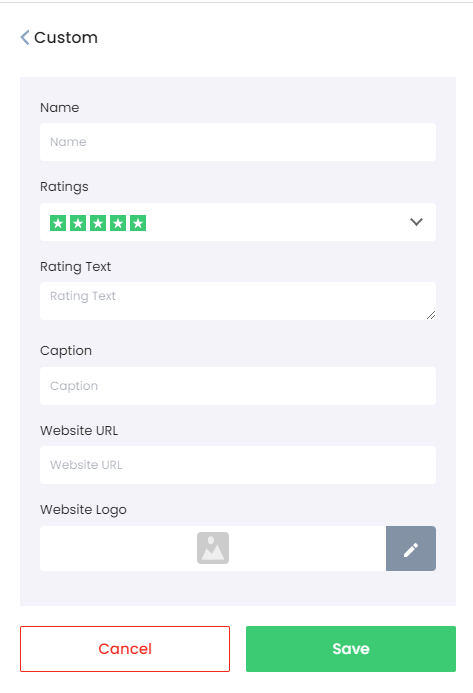
- All you have to do is fill in these details and click save
- Now go back to "data source tab" and tick mark the check-box, you'll start seeing a live preview in the preview section.
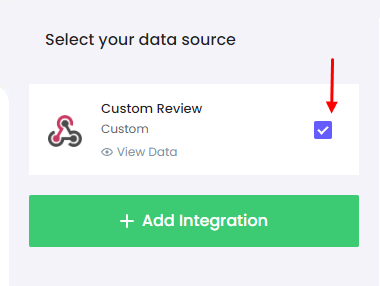
That's it. Your Custom Review feed is connected with your Social Wall.
Save it before you move to the next step.
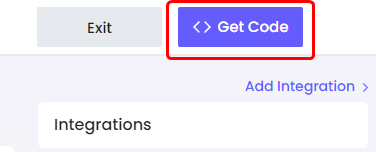
3. Add Widget code to your website
Now, to display the widget on your website, copy the code and paste it into your HTML on the desired page.
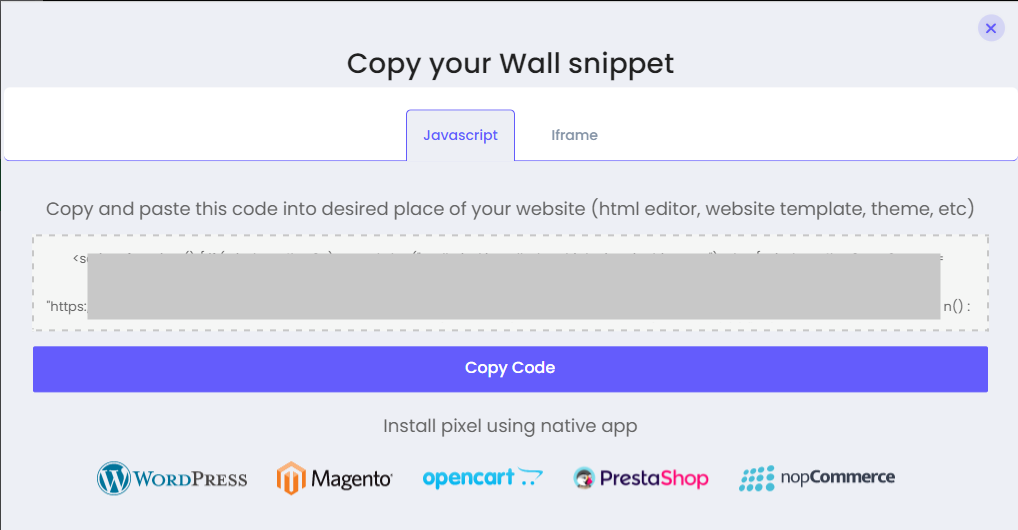
Once you add this code to your desired place in HTML, your widget will be live.