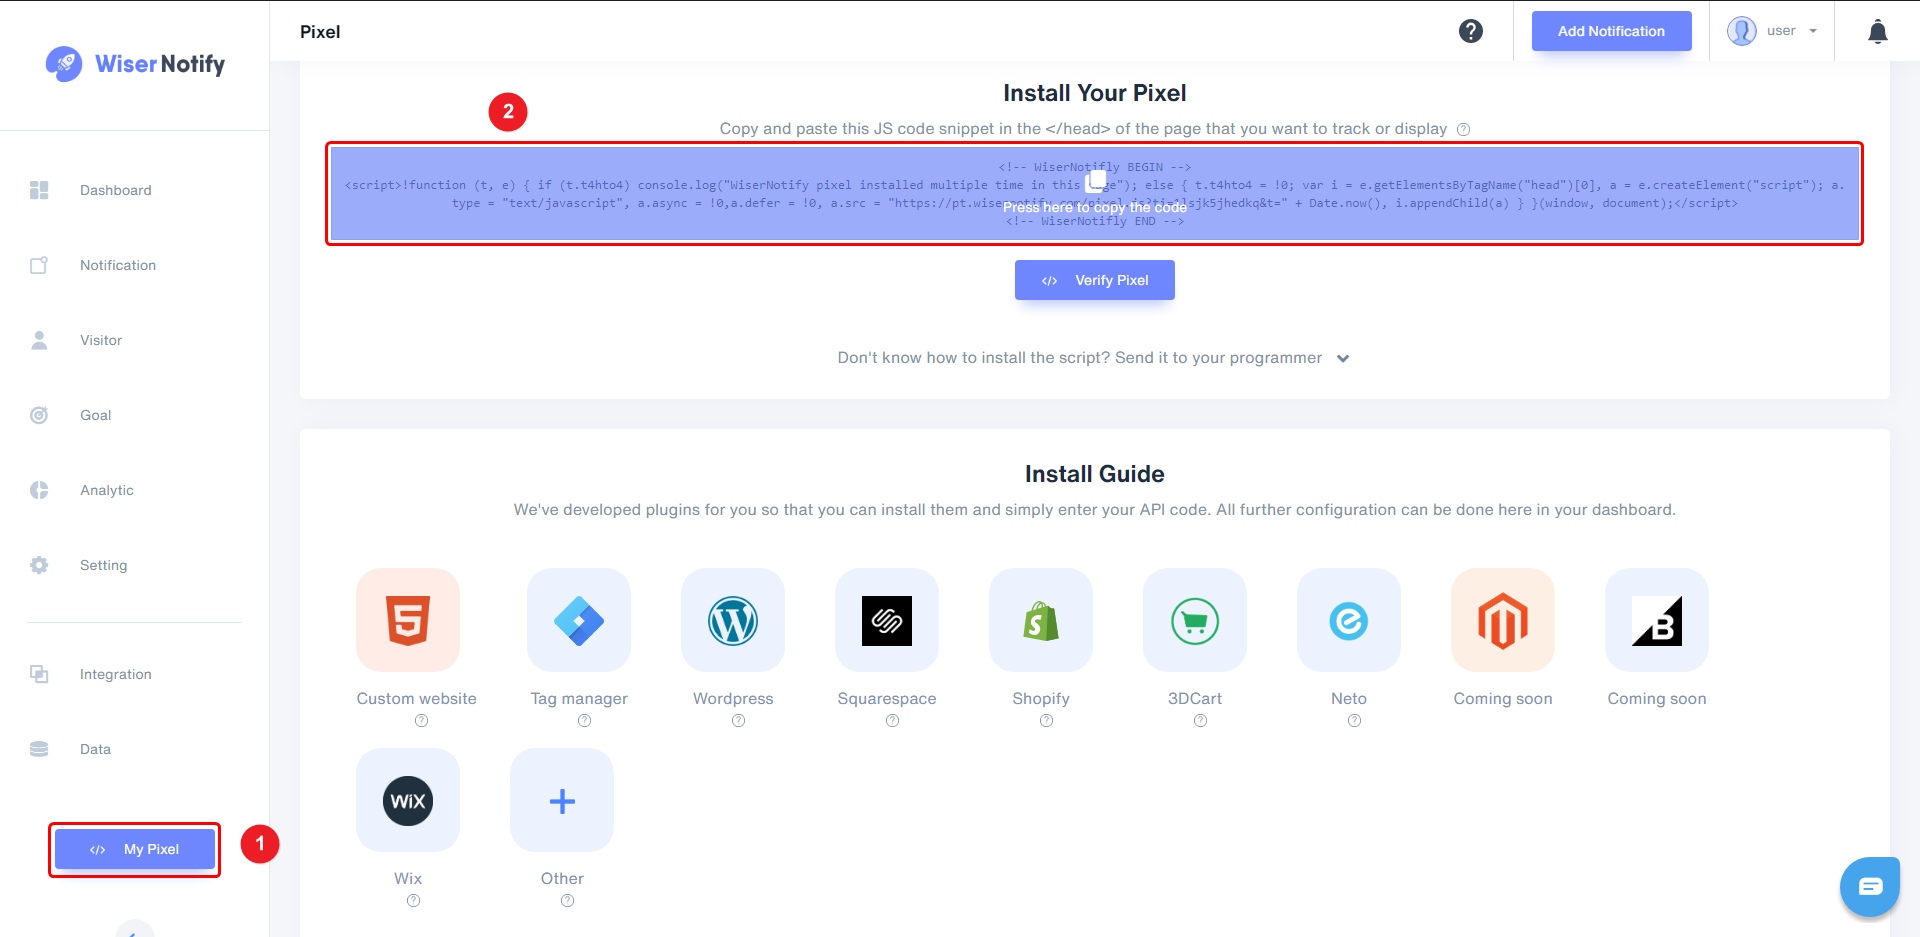
Step 1
1. Click on My Pixel button.
2. Click and copy the Pixel code inside Install Your Pixel section.

Step 2
Login with Joomla
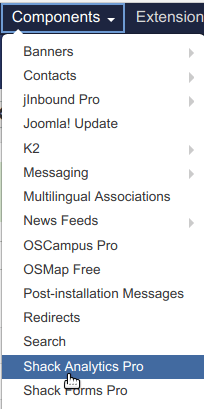
You create a Joomla tracking tag on the Shack Analytics: Tracking Tags page. You will be taken to this page by default when you go to Components > Shack Analytics Pro:

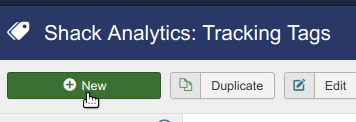
Click the New button in the top left corner:

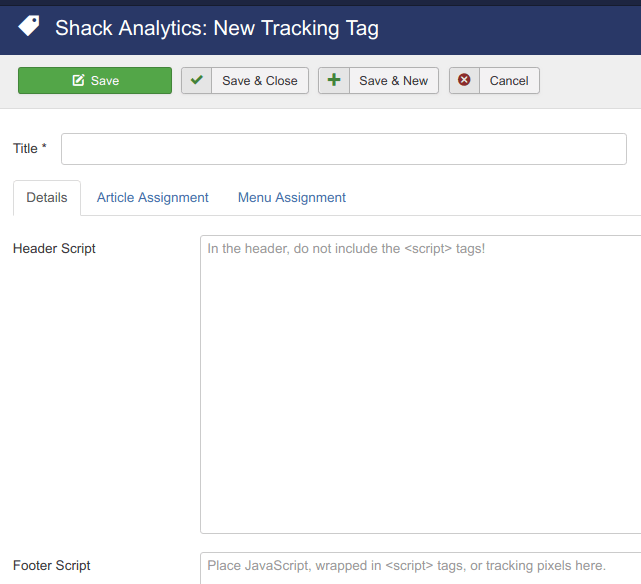
You will see the Shack Analytics: New Tracking Tag tag creation page.

Enter a title for your tag.
Enter the WiserNotify tracking code into the header script box
Click Save or Save & Close.
Now, visit your site & reload or refresh it.
After that, return to WiserNotify panel & recheck the install pixel page & Wait for 5 seconds; it should show pixel detected popup. If not, then click on the verify my pixel button. It should display if installed correctly.
For more queries, reach us at [email protected] or our live chat support team if it is not working. We will help you through the process.
