Click on Add Notification
1. Go to 'Live Visits'
2. Select your favorite design option (You can change it later)
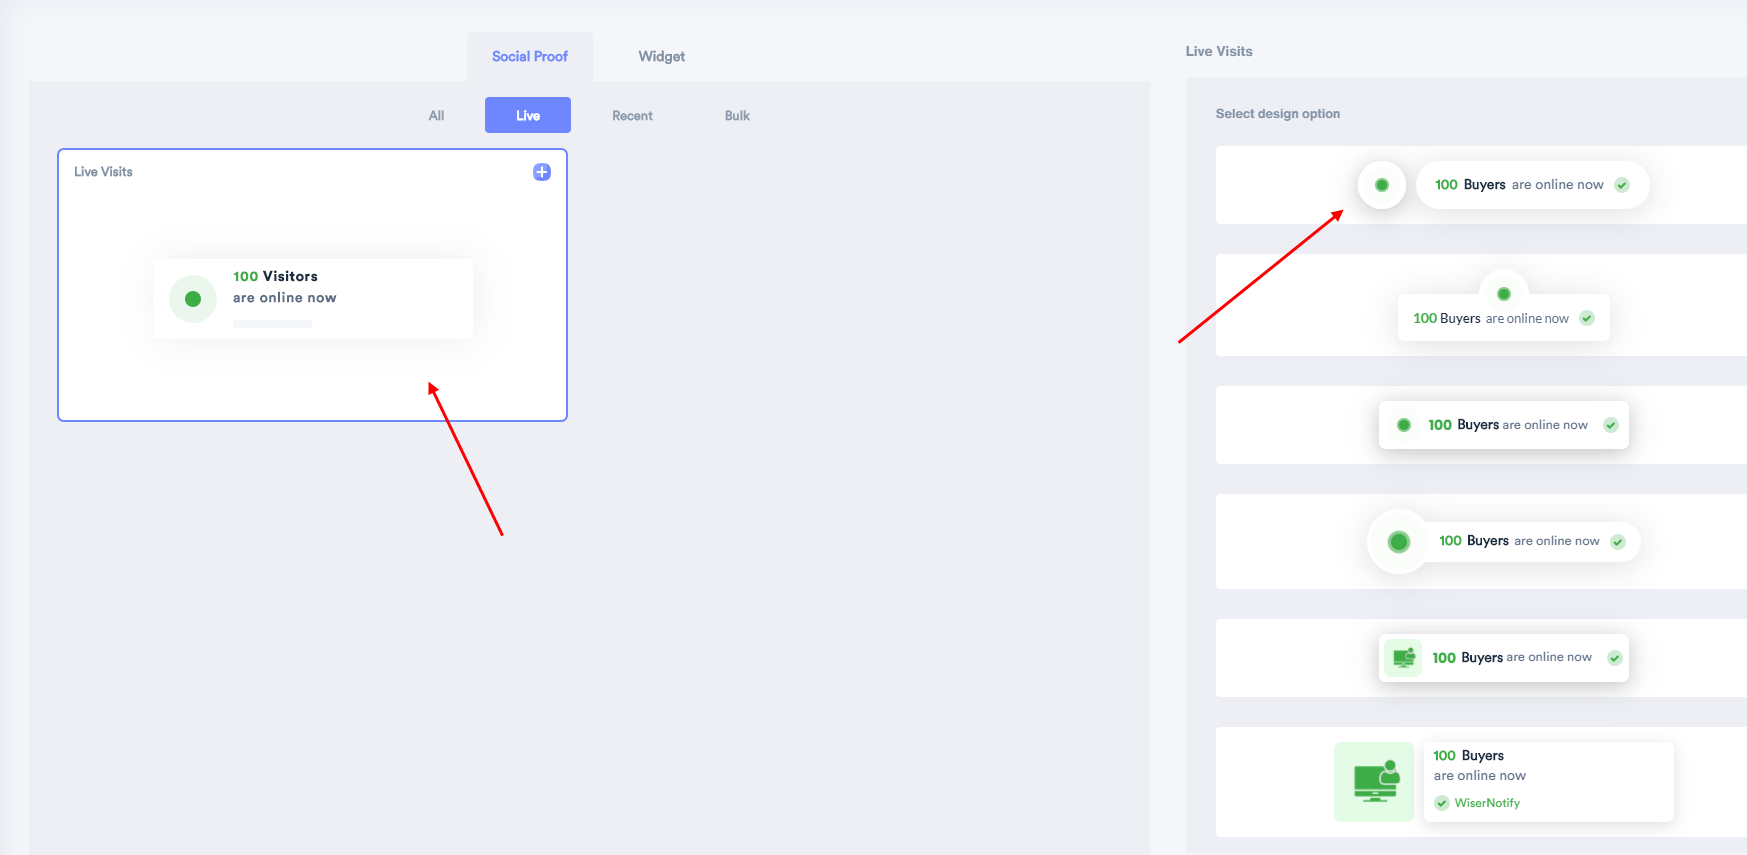
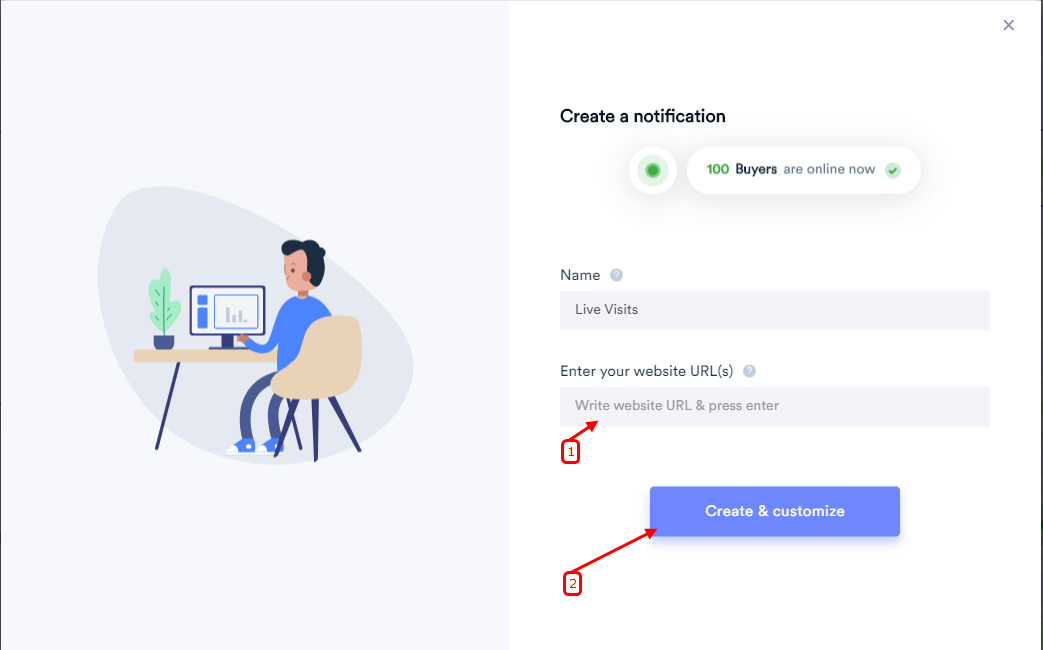
3. Create notification as per the layout of your choice (or else default layout will be used).
4. Enter your Website URL, where you want the notification to be displayed.
5. Click on create & customize to save.
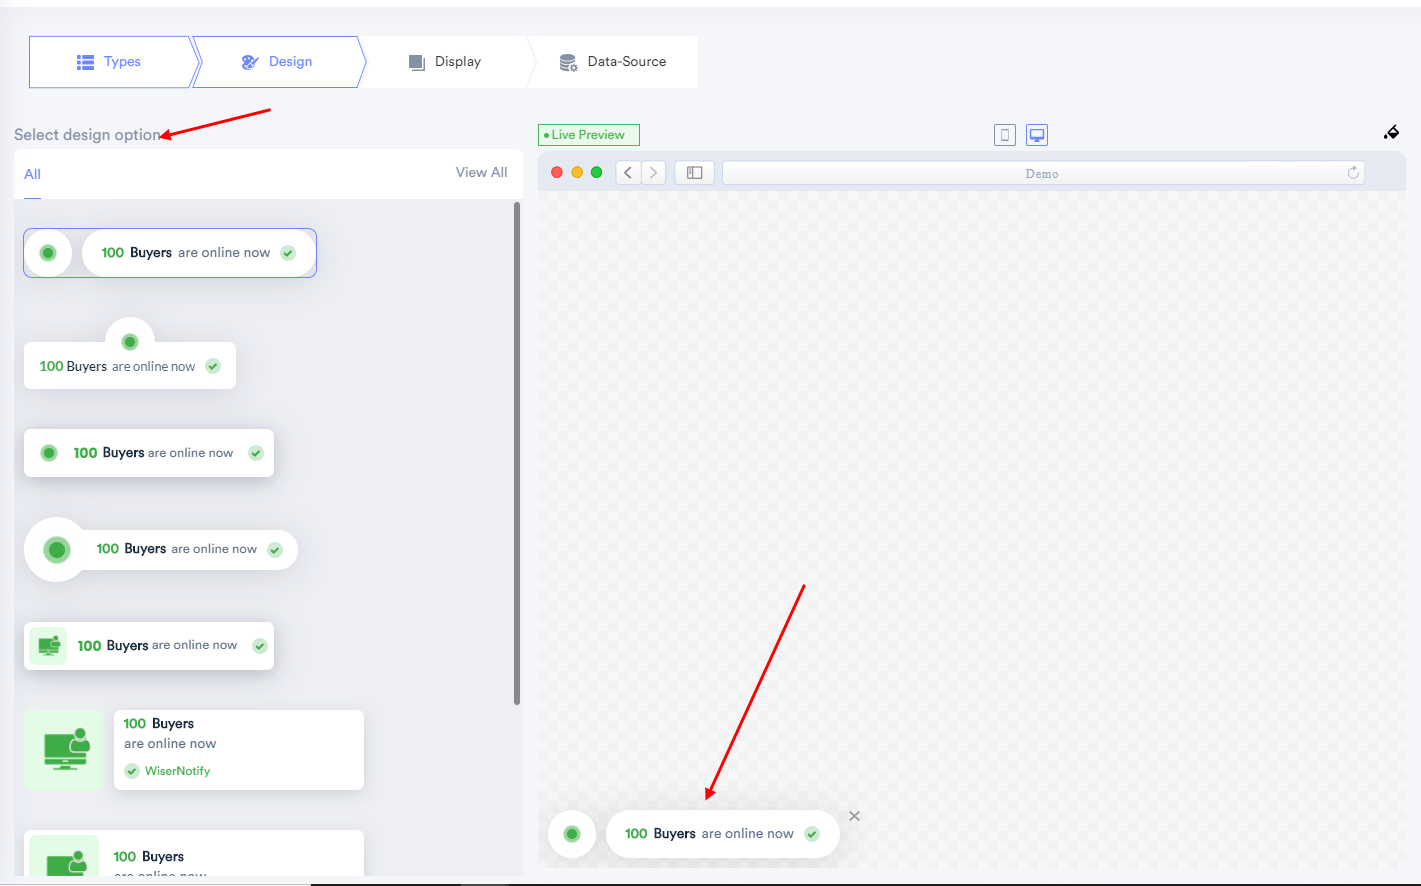
- You can Customize the template of the notification anytime.
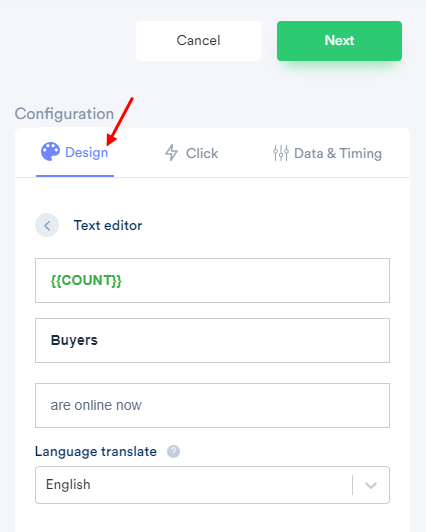
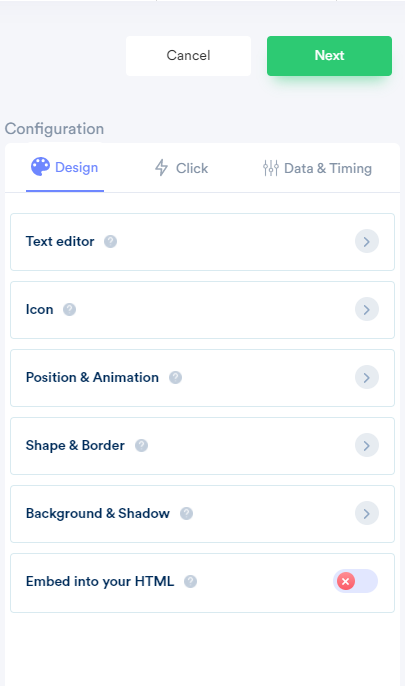
- Following this path Configuration>Design>Text editor, you can change the format of your content too, anytime.
- Click here to understand all the design options shown in the image below in detail.
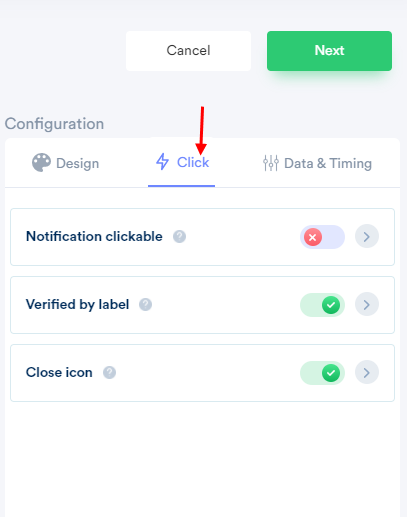
You can configure click action, which will assist you to set your desired click-action on the notification.
- To know more about the clickable notification option click here.
- To know more about Verified by the label click here.
- To know more about the Close icon setting click here.
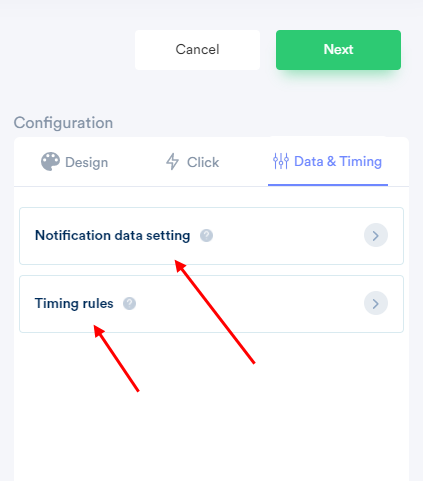
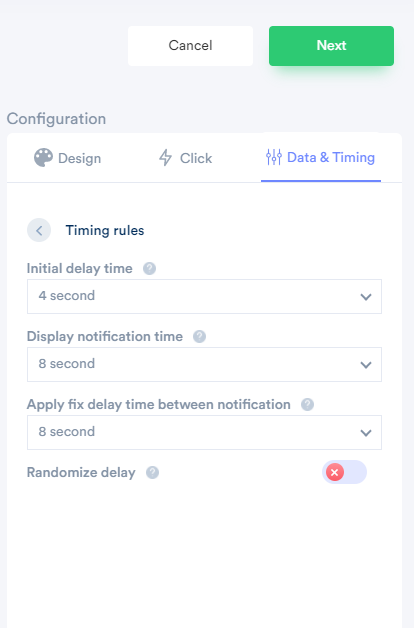
- You can also set Notification Data setting or Timing rules (delay time/Lapse time) etc.
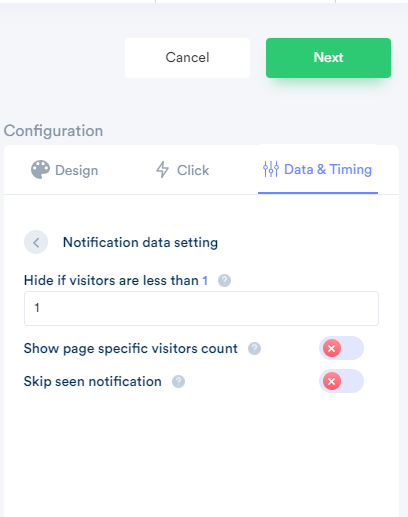
The following Data & Time Customizable features are also available:
- Hide if visitors are less than(specific number), To know more about this feature click here.
- Show page-specific visitor count: To know more about this feature click here.
- Skip seen notification: To know more about this feature click here.
- You can set the initial delay time to show notification, set the time frame for the visibility of the notification. Click here to know more about it.
- You can also set the display rules (page specific notifications) from the Display tab. Click here to know more.
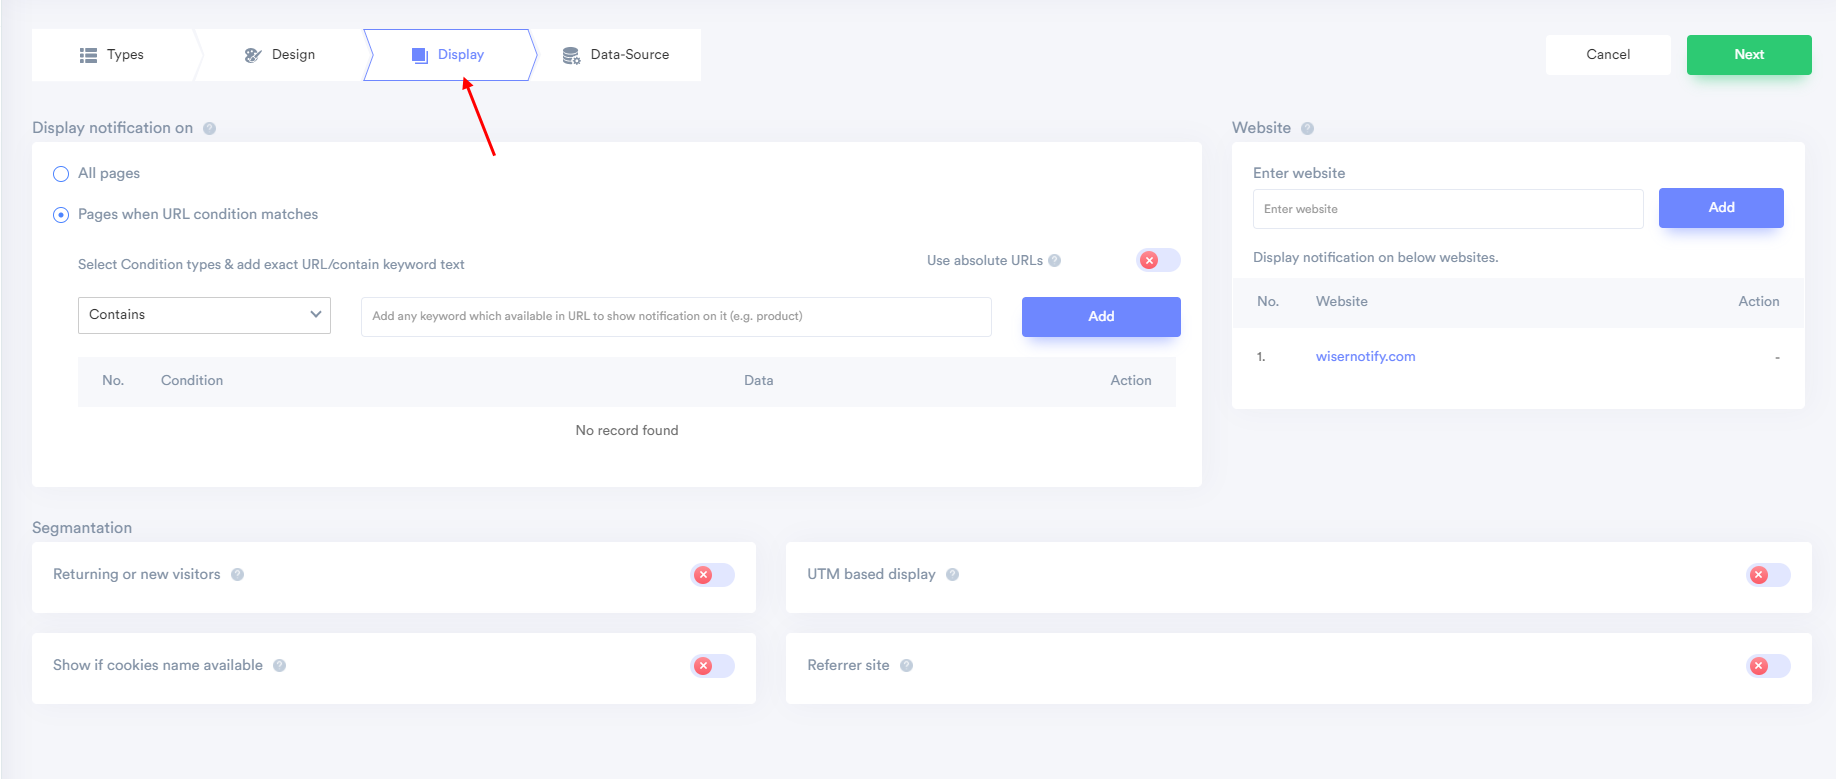
- Here, You can use a website URL or subdomain or add multiple websites URL to track live visitor count & show into live visitor notification.

6. After completing the customization process, click on Finish, to complete the setup.

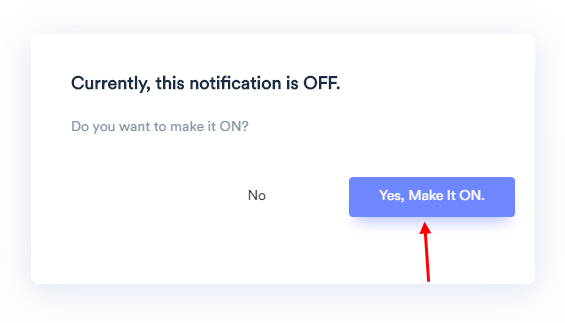
7. When you click on "Yes, Make it ON", it will begin showing the notifications based on the conditions you have applied.
If it is not working, feel free to reach us at [email protected] or chat with the support team. We will assist you to make it live.
