More business. Less work. That’s Keap.
- Landing Page.
- WebForms.
- Shopping Cart.
A) Landing Page
Step 1
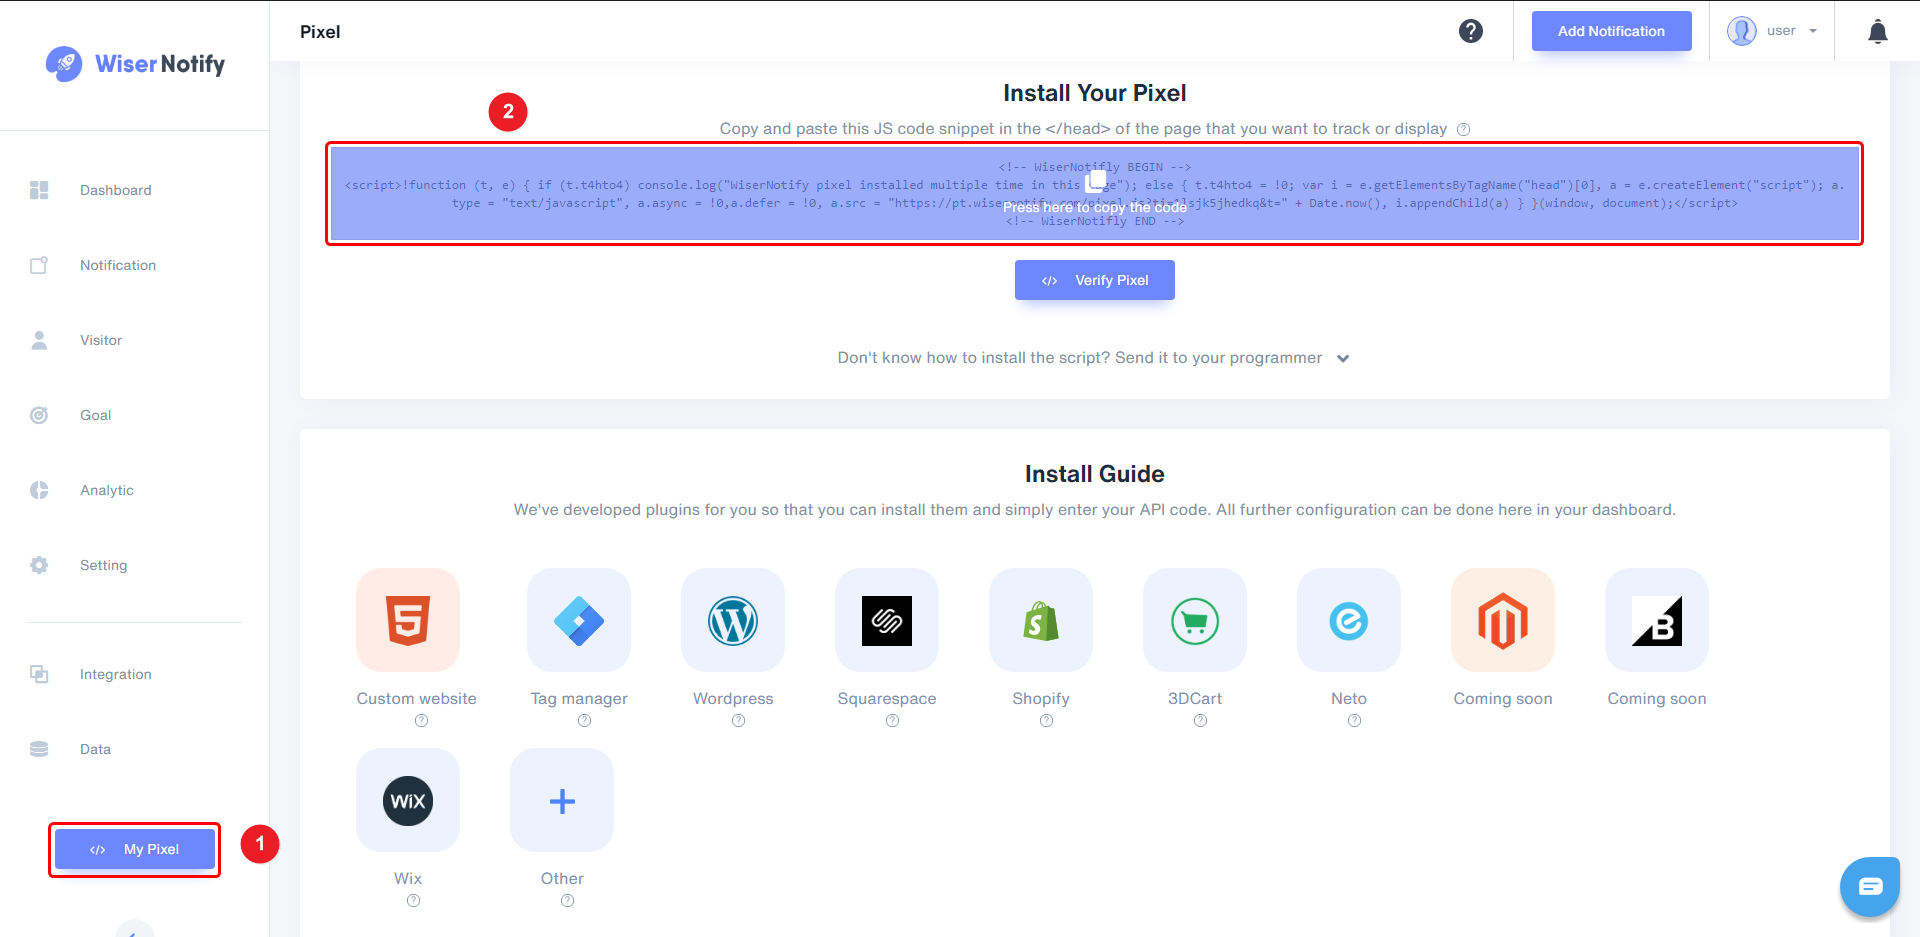
1. Click on My Pixel button.
2. Click and copy the Pixel code from Install Your Pixel section.
Step 2
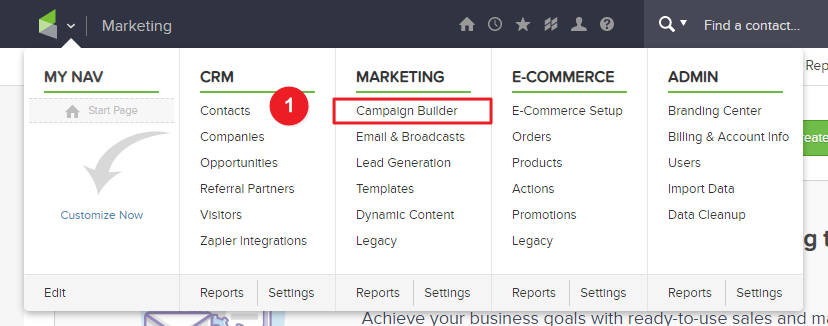
Login with Infusionsoft,
1. Click on the Campaign Builder inside MARKETING.
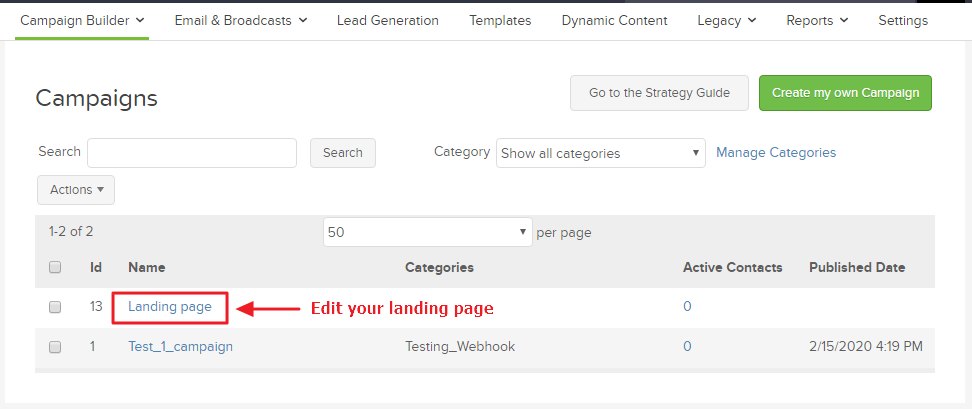
2. Edit your Landing page.
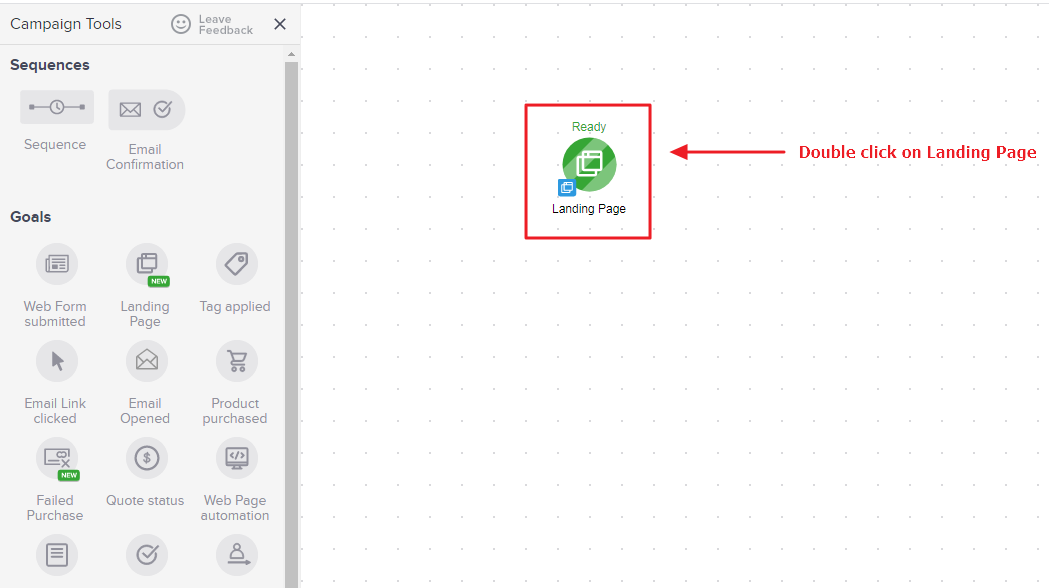
3. Double click on Landing Page.
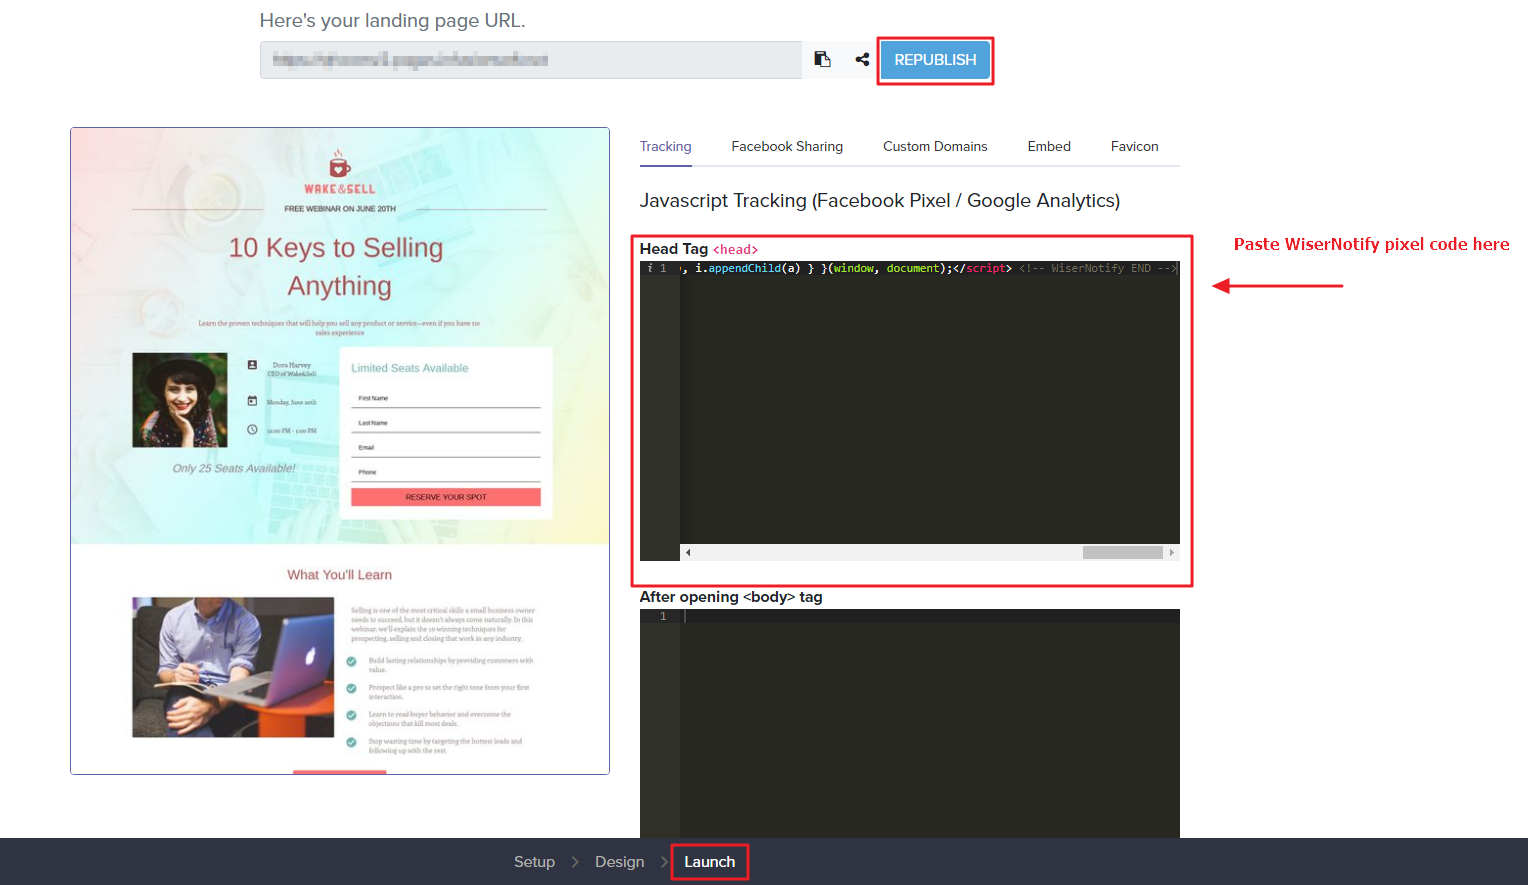
4. Click on Launch into the bottom.
5. Paste copied WiserNotify pixel code here.
6. Click on the REPUBLISHING button.
B) Webforms
Follow Landing Page Step 1 and 2.1
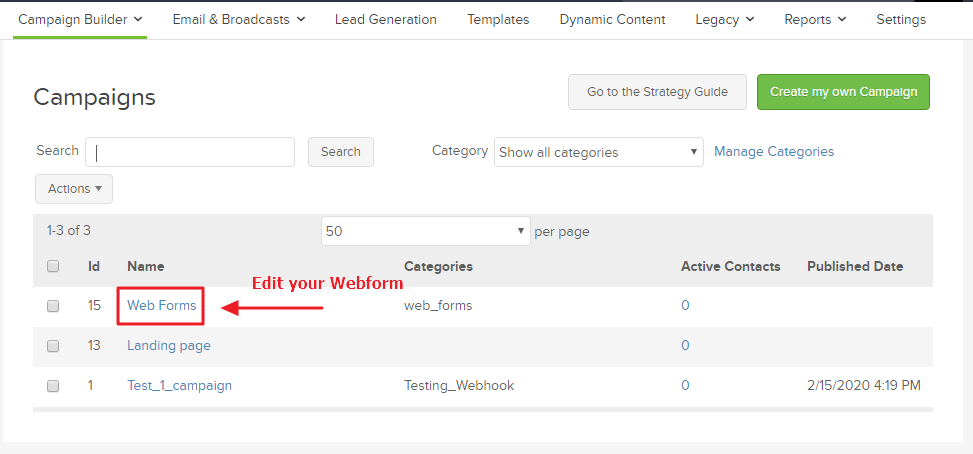
3. Edit your Webforms.
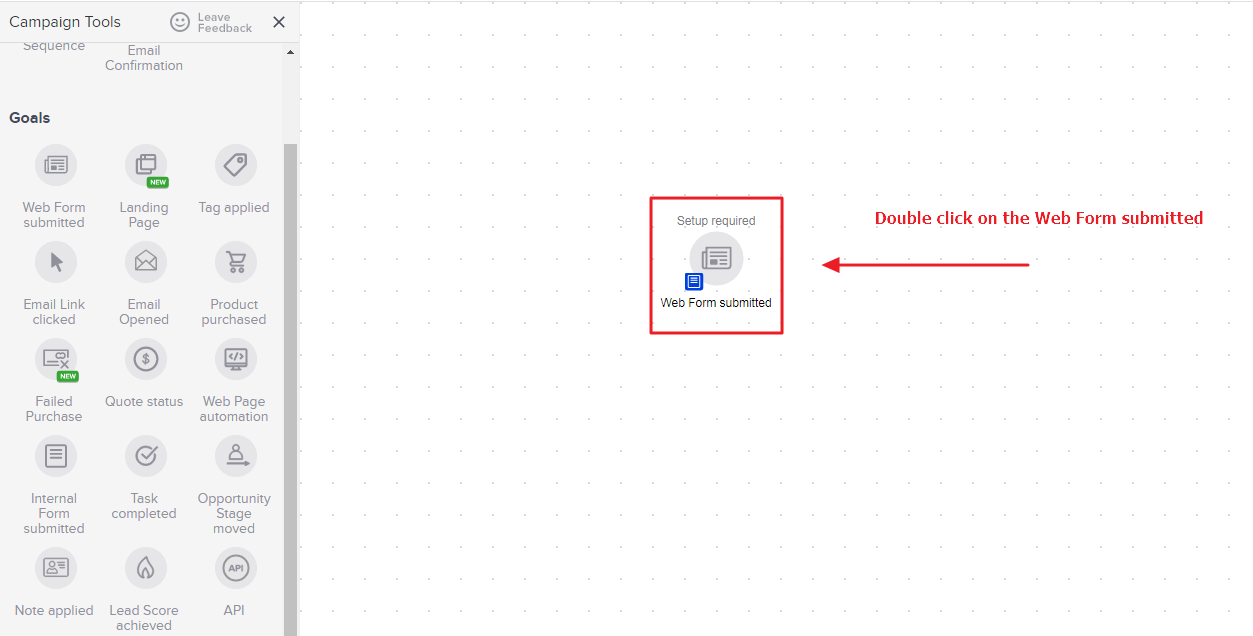
4. Double Click on Web Form submitted.
5. Navigate to Design > Snippets.
6. Drag and drop HTML Snippets.
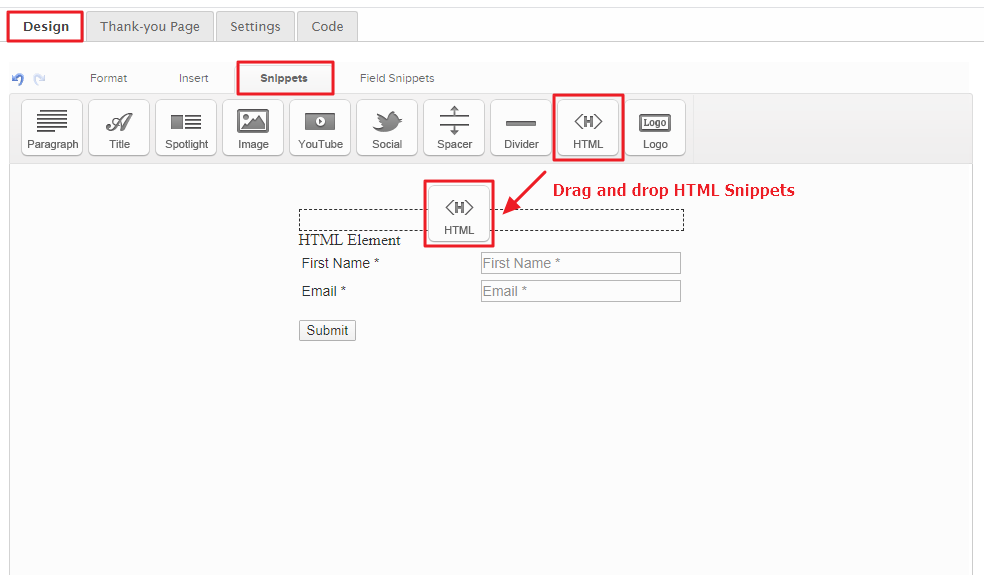
7. Paste WiserNotify pixel code here.
8. Click on the Save button.
C) Shopping Cart
- Shopping Cart.
- Order Form.
a. Shopping Cart.
Follow Landing Page Step 1
Login with Infusionsoft.
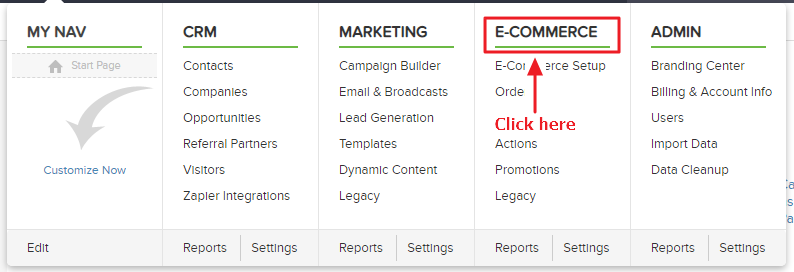
1. Click on the E-COMMERCE.
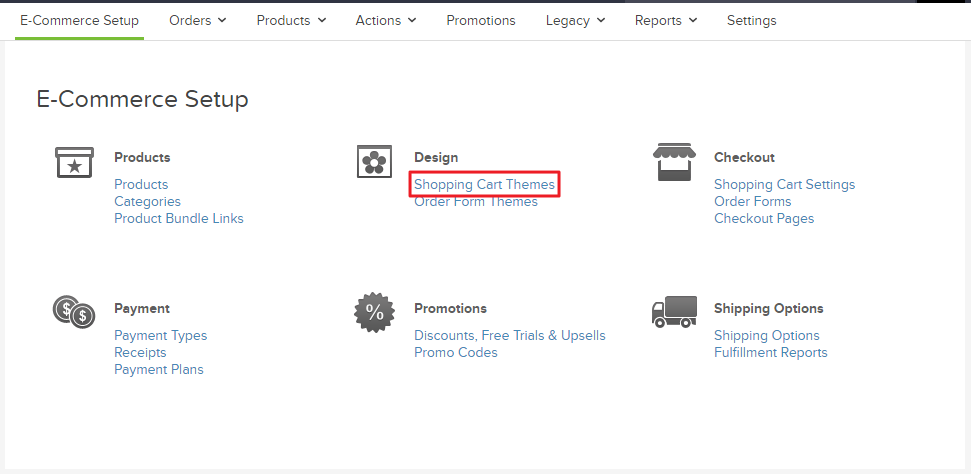
2. Click on Shopping Cart Themes inside Design section.
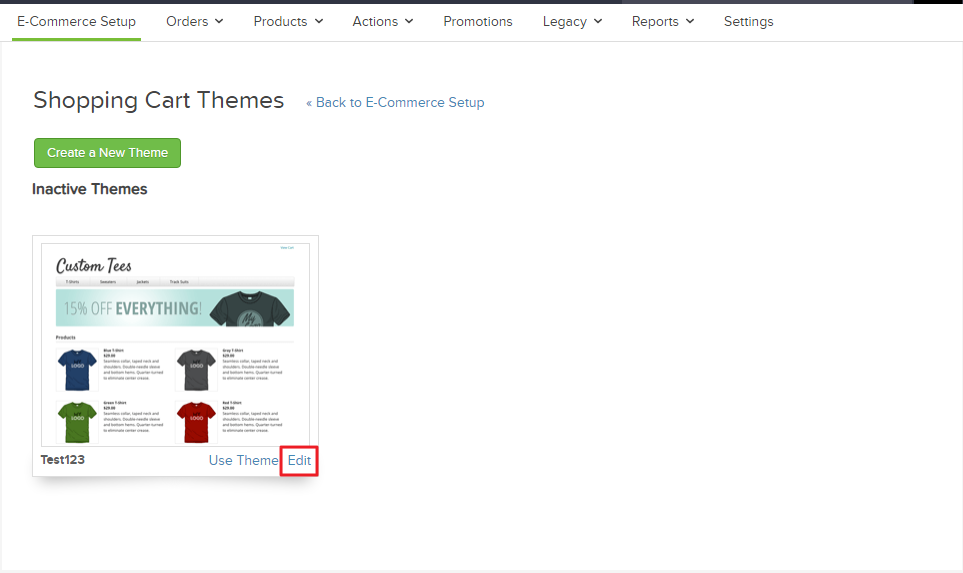
3. Click on the Edit button.
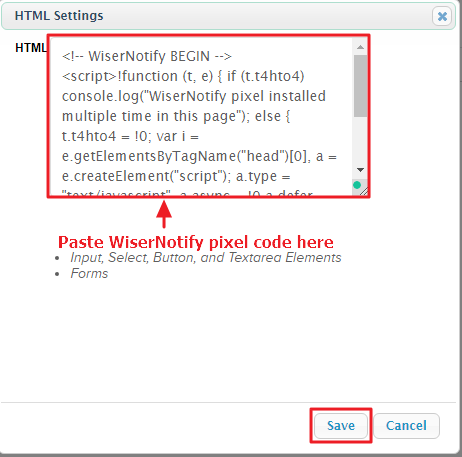
4. Click on HTML Areas tab.
5. Paste WiserNotify pixel code here.
6. Click on the Save button.

b) Order Forms Themes.
Follow Shopping Cart Step 1,
2. Click on Order Forms Themes.
Follow Shopping Cart Step 3,4,5 and 6.
Now visit your Infusionsoft domain or refresh your Infusionsoft site.
Return on the dashboard & check my pixel page. Now you can see the website name where you have installed the pixel.
Click here if you want to integrate with the Infusionsoft webhook.
For more queries, reach us at [email protected] or our live chat support team. We will help you through the process.